
Common Tasks
Step by step walkthroughs for the things people actually do in the EHS Training Portal, most common first. Each one says who it is for.
1. Complete a course that is assigned to you
For students. This is the main thing the portal exists for.
- Sign in. You land on your dashboard at /training/.
- Look at Upcoming Deadlines to see what is most urgent, or open the course from the course list.
- Select the course you need to finish.
- Work through the lessons in order. Your position is saved as you go, so you can stop and come back.
- Complete the quiz at the end, if the course has one.
- Confirm it worked: every lesson has a completion check, the quiz shows a score, and the course shows Completed. Your Courses Completed count then increases on the dashboard.
Tip: Do the quiz in one sitting. Leaving part way through does not reliably keep your answers.
2. Download a certificate
For students.
- Go to My Certificates.
- Find the course in the list.
- Select Download.
- Confirm it worked: the certificate opens or saves, and shows your name and the completion date.
Tip: Save a copy somewhere of your own. It is your proof of training.
3. Retake training that has expired
For students. Safety training lapses on purpose, and retaking it is normal.
- Sign in and check your Compliance Status tile.
- Look for training marked Expired, or check Upcoming Deadlines for what is close.
- Open the course and work through it again, exactly as the first time.
- Confirm it worked: the course shows a new completion date, a new certificate appears under My Certificates, and the overdue emails stop.
Warning: Overdue reminders repeat on an escalating schedule. They stop when the training is complete, not when you dismiss them.
4. Find out who in your group is out of compliance
For group leaders and administrators. The fastest recurring check.
- Go to Student Management.
- Use Filter by Status and choose Critical to see who is already out of compliance.
- Switch the filter to Due Soon to see who is about to be.
- Read the Status and Next Due columns to prioritise.
- Confirm it worked: the list narrows to only the students matching that standing.
Tip: Critical answers "who is a problem right now". Due Soon answers "who will be a problem if I do nothing". Run both.
5. Record training somebody completed elsewhere
For group leaders and administrators. Classroom sessions, training from a previous employer, anything done outside the portal.
- Go to Student Management and open the student.
- Select Add Training Record.
- Choose the course, select the Completion Type, and enter the real Completion Date.
- Add the Due Date and Expiration Date when they are known.
- Select Add Completion.
- Confirm it worked: the course shows as Completed with the date you entered, and the Next Renewal date reflects that completion.
Warning: The date you enter sets the next renewal date. Entering today's date for training completed two years ago makes a lapsed student look compliant for another full cycle. Use the real date.
6. Add a new student
For group leaders and administrators.
- Go to Student Management.
- Add the student, providing their name and email address.
- Assign them to the right group. A student with No groups assigned will not appear in group filtered views.
- Save.
- Confirm it worked: the student appears in Student Management, and the portal emails them a welcome message with a link to set their own password.
Warning: If somebody says the welcome email never arrived, check Troubleshooting rather than creating a second account. Two accounts split one person's training history in half, and neither shows the true picture.
7. Chase a group of people about outstanding training
For administrators.
- Go to Bulk Templates.
- Choose the template you want, usually the due soon reminder.
- Paste the recipient addresses, one per line.
- Adjust any wording for this send.
- Send a test to yourself first and read it.
- Run the send and watch the progress.
- Confirm it worked: the summary at the end reports how many succeeded, and lists any addresses that failed.
Warning: There is no recall. Always do the test send.
8. Offboard an employee who has left
For group leaders and administrators. Keep the record for audit purposes.
- Open Student Management and select the employee.
- Select Mark Inactive and confirm the warning.
- If needed, ask an administrator to remove the employee from the training group after the account is inactive.
- Confirm it worked: the detail screen shows the inactive state, sign-in is blocked, and the employee's training history remains available.
To restore access, open the same record and select Reactivate Account.
9. Export complete employee training data
For group leaders and administrators.
- Open Reports & Analytics or Settings.
- Select Export Data.
- Open the downloaded CSV and check the employee, group, account status, course, completion, due and renewal columns.
- Confirm it worked: the file contains employee rows and active or archived history, not just headline report totals. Group leaders see only assigned groups.
10. Check whether an email was actually sent
For administrators. Do this before resending anything.
- Go to Email Logs.
- Find the person and the message.
- Confirm it worked: you can see whether the portal sent it and when.
If the log shows it was sent, the problem is delivery, most often a junk folder or a mail filter, and resending the same message will not help. If the log shows nothing, check that notifications are switched on in Settings.
11. Produce a compliance report for an audit
For administrators.
- Go to Reports & Analytics.
- Read the headline figures: Total Completions, Active Learners and Overdue.
- Open User Progress for individual records, and the Renewals Report for what is coming due.
- Go to Settings and use Data Export to take a copy.
- Confirm it worked: the exported figures match what Reports shows on screen.
Tip: Export before the meeting, not during it. If the two do not match, you want to find that out with time to investigate.
12. Report a problem with the portal
For everyone.
- Open Support & Feedback.
- Choose the Category and the Priority.
- Enter a Subject, a brief description of the issue.
- Under Describe Your Issue, explain what you were trying to do, what happened, and what you expected to happen instead.
- Submit.
Tip: The single most useful thing you can include is what you were doing immediately before it went wrong. It turns a guess into a reproduction.
13. Update group staff names and locations
For group leaders and administrators. Site contacts and evacuation details that appear live inside training lessons for people in your group.
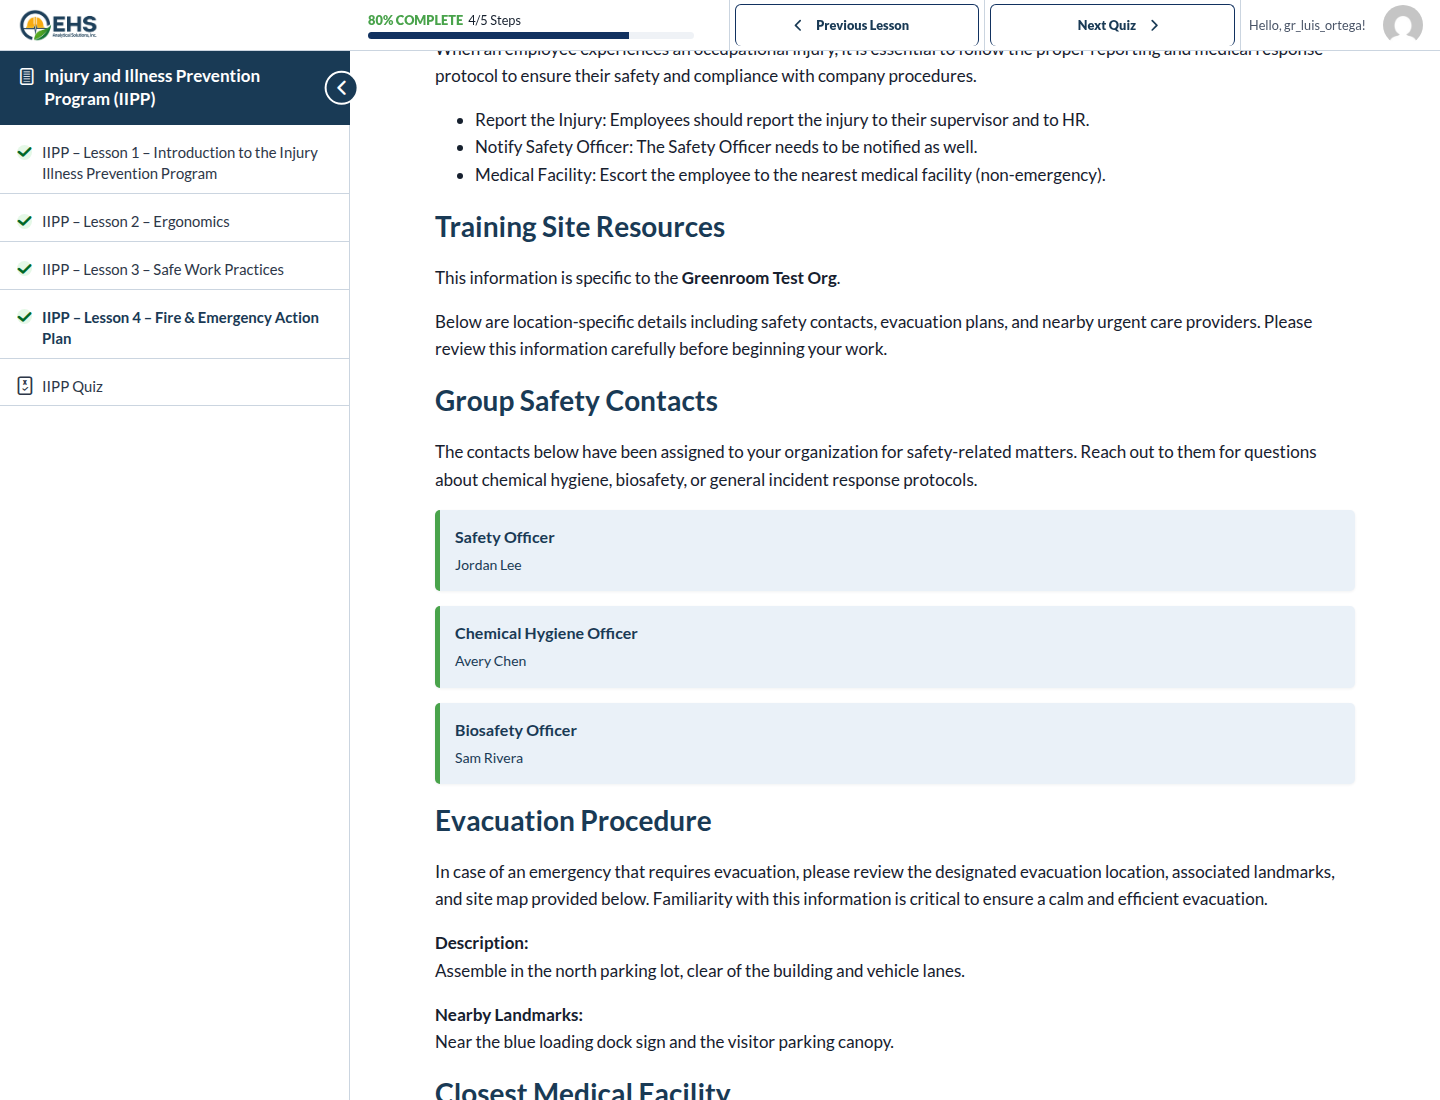
There is no separate "publish to lessons" step. When you save Edit Group Data, the next time a student opens a lesson that uses group shortcodes, they see the new names and locations for their training group.
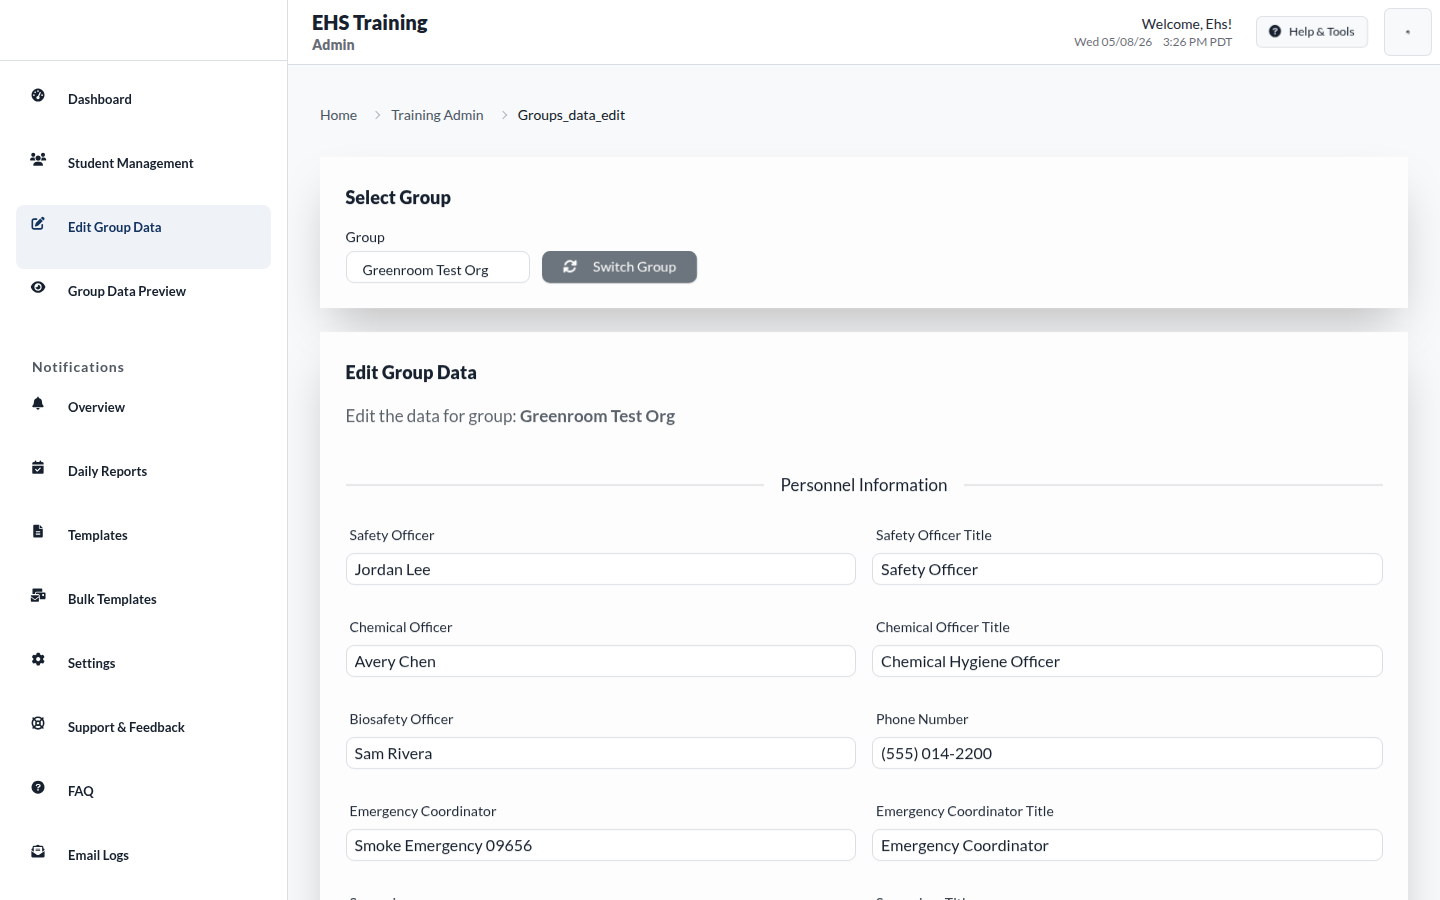
- Go to Edit Group Data.
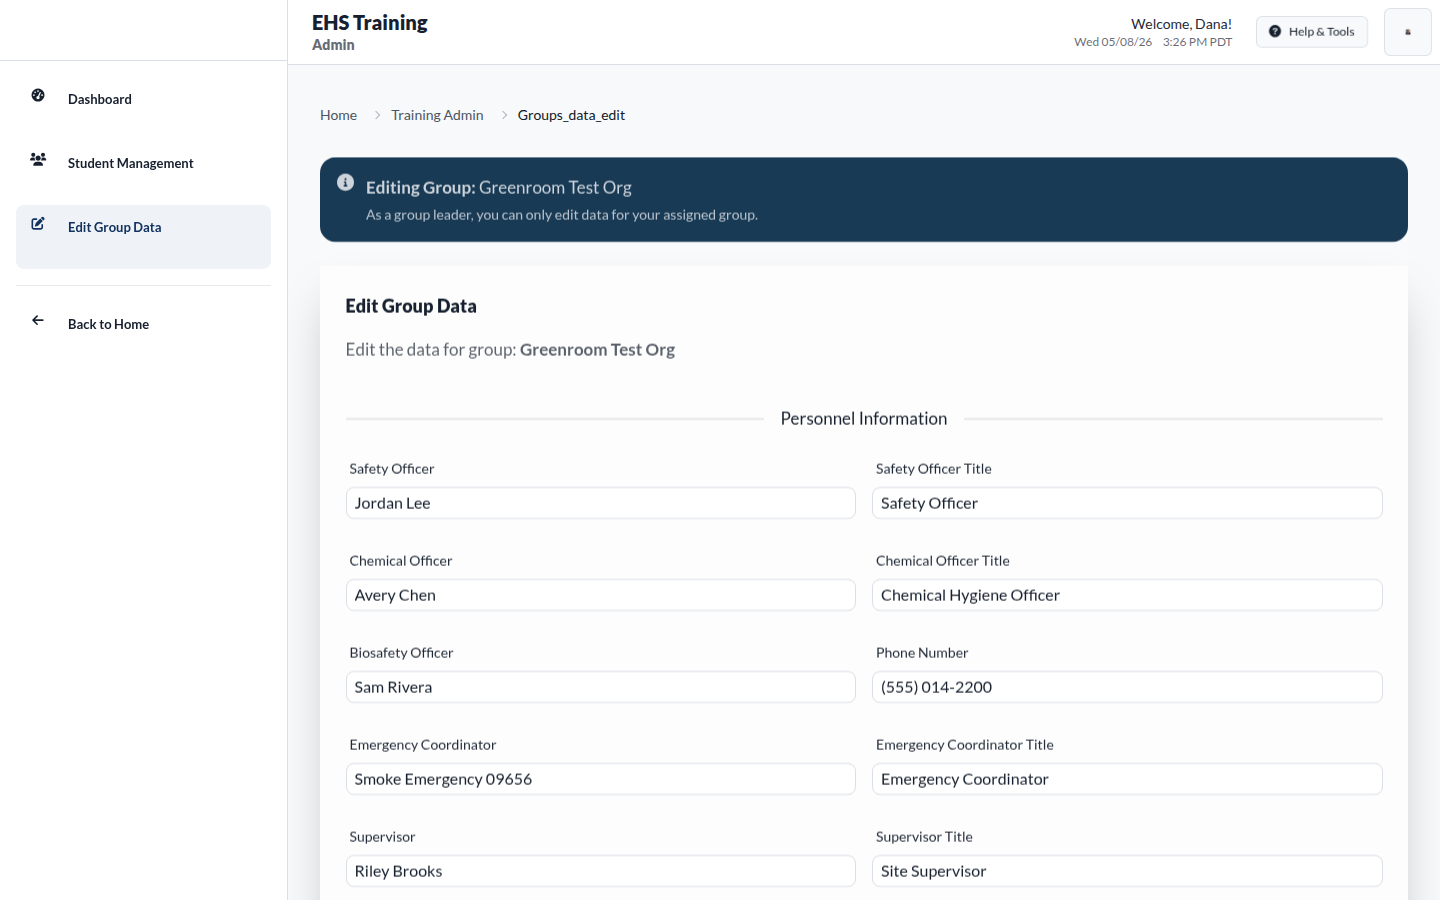
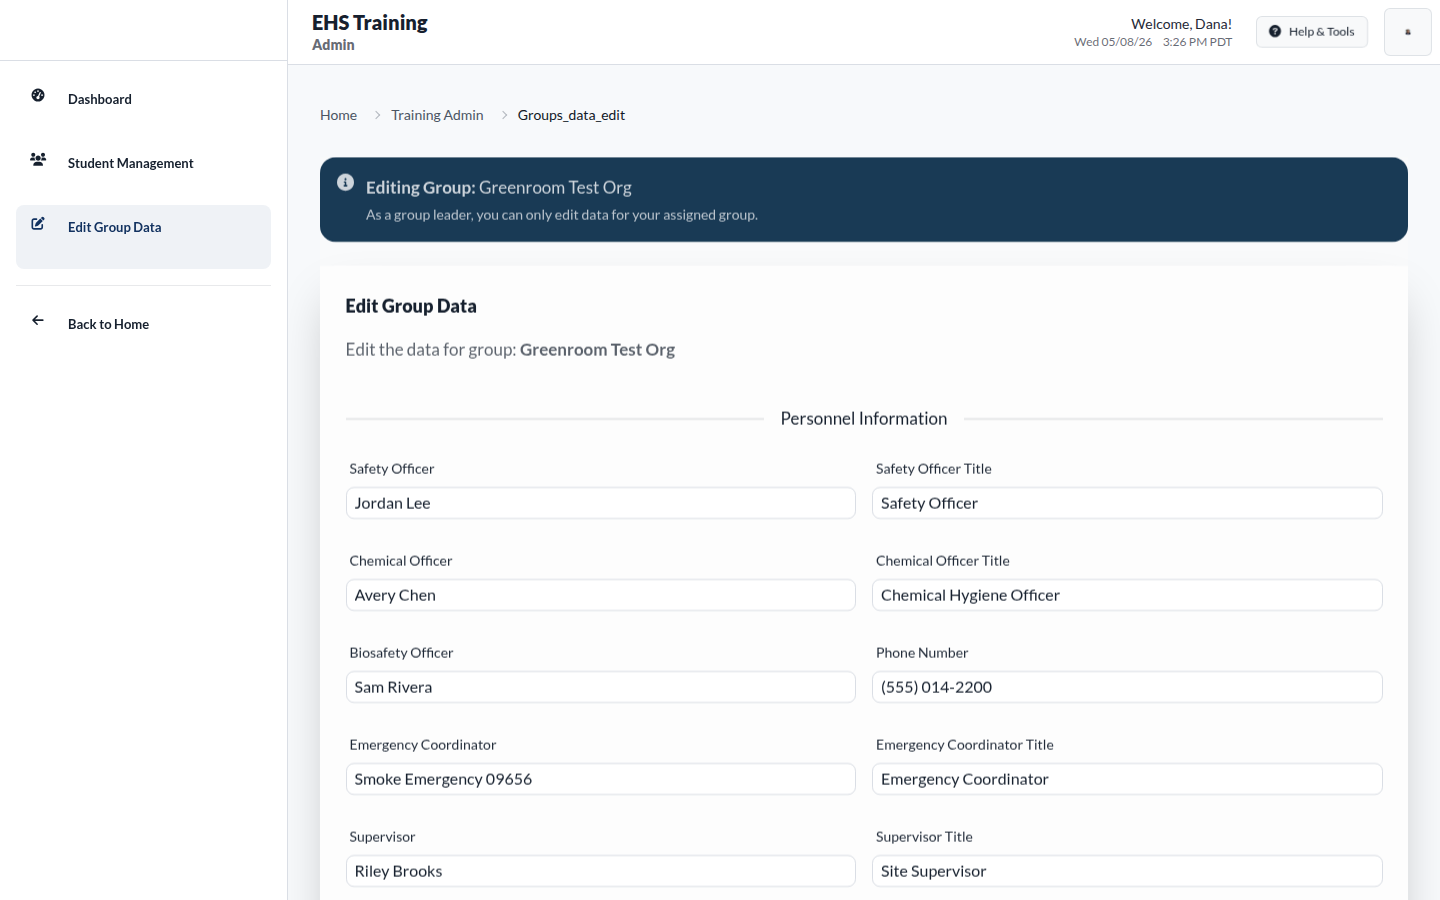
- Confirm you are editing the correct group. Administrators can use Switch Group. Group leaders only edit their assigned group.
- Under Personnel Information, update staff names and titles.
- Under Evacuation Information, update location, landmarks, and optional map.
- Update the closest medical address if it changed.
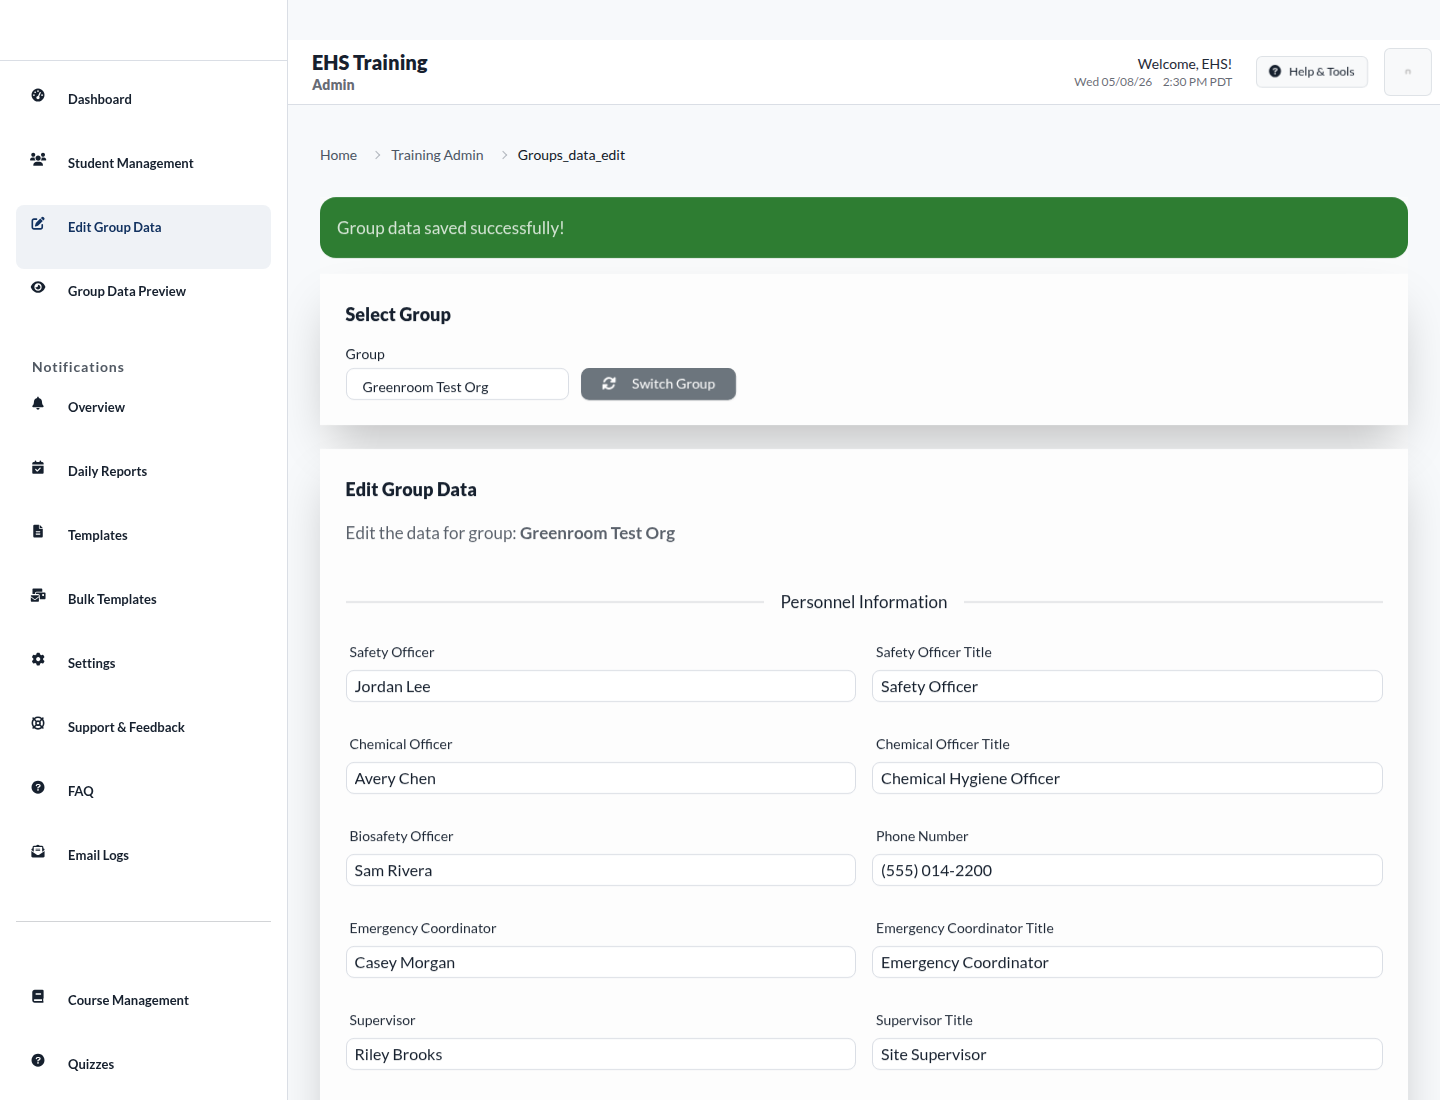
- Select Save Group Data.
- Confirm the green success banner, then check a mapped lesson if you can.
Staff names
Evacuation location
Medical address
1200 Industrial Blvd
Anytown, CA 90000
Save
How values reach lessons
| What you edit | Lesson shortcode | Example lessons |
|---|---|---|
| Safety / Chemical / Biosafety officer names | [parent_group_info field="…"] |
IIPP Lesson 4; WPV Lessons 3 and 4 |
| Evacuation description, landmarks, map | [parent_group_evacuation_full] |
IIPP Lesson 4 |
| Closest medical address | [parent_group_closest_medical] |
IIPP Lesson 4 |
| Group label / header image | [parent_group_resources_header] |
IIPP Lesson 4 (title + logo) |
Values are stored on the training group. Lesson content resolves the learner's group when they open a lesson.
Group Safety Contacts
The contacts below come from Edit Group Data for the learner’s group.
Evacuation Procedure
Description:
Assemble in the north parking lot, clear of the building and vehicle lanes.
Nearby Landmarks:
Near the blue loading dock sign and the visitor parking canopy.
Closest Medical Facility
Address:
Valley Urgent Care
1200 Industrial Blvd
Anytown, CA 90000
Warning: Only edit groups assigned to you. If the wrong group's officers or locations appear, stop and ask an administrator.
Full field descriptions: Group Leader Guide: Group data.